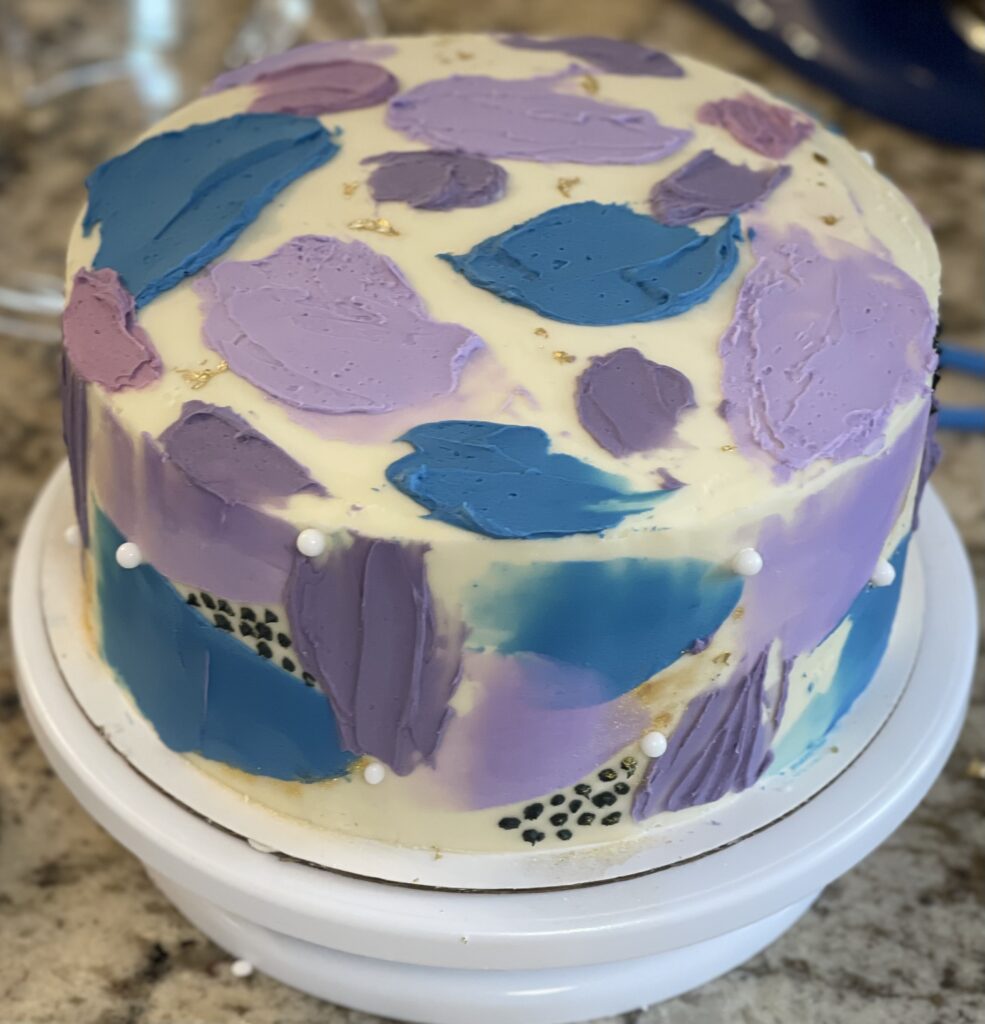
I absolutely love the painted buttercream cake technique! It looks amazing, and there are countless ways to do it, no two cakes will look the same!

It’s also much easier than it looks. Even if you are new to cake decorating, I promise, you can do it!
For this particular cake I did a classic vanilla cake inside. I will share a post soon with a vanilla cake recipe, but this post is geared more towards this decorating technique specifically.
TOP TIPS FOR PAINTED BUTTERCREAM CAKE:
Here are a few tips to follow that will make this technique much easier for you.
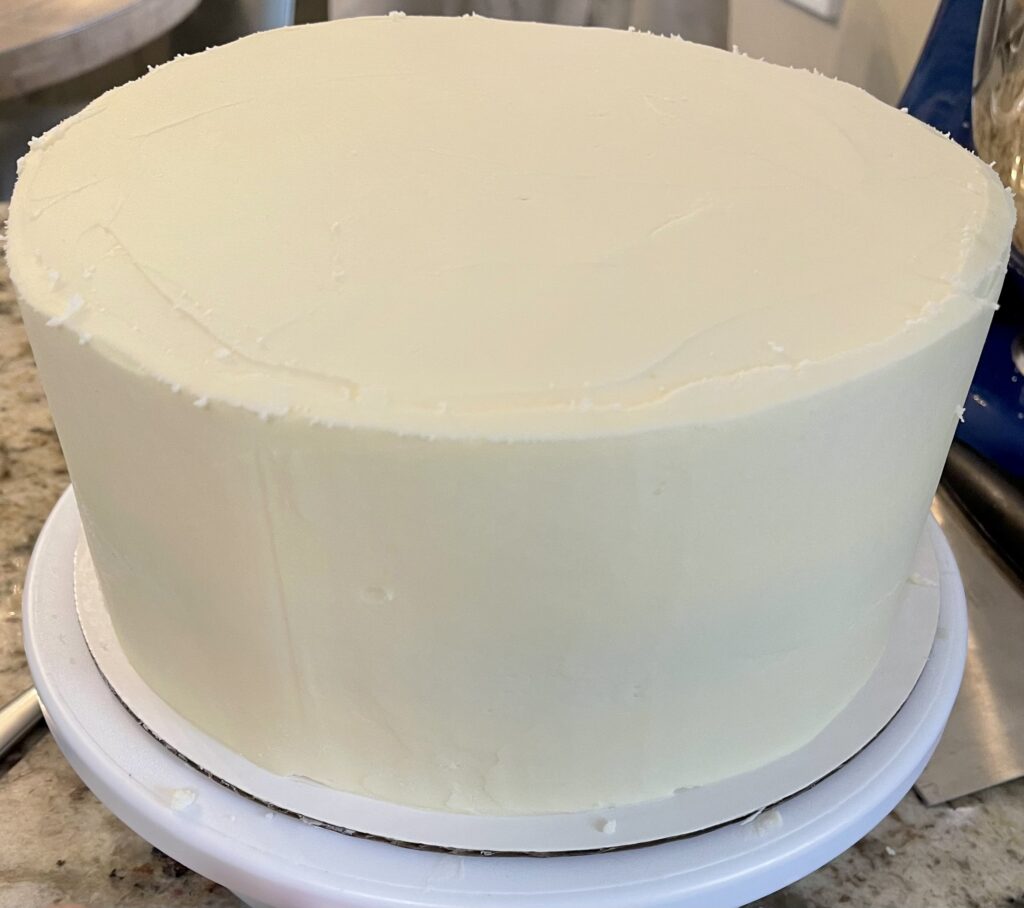
- Frost your cake as you would normally. Chill it once you have a smooth finish before painting your buttercream on.
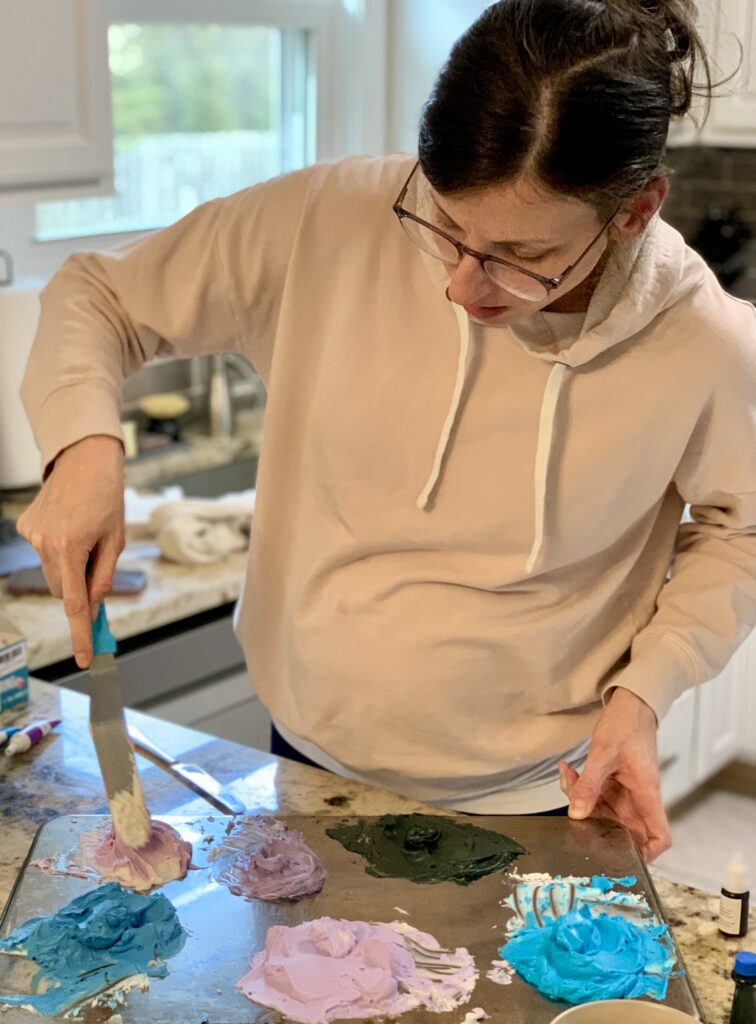
- Use the back of a large baking sheet as your paint pallet. You should only need small amounts of each color.
- Mix all of your colors ahead of time so you have an idea of how the colors will look together. After mixing all of my colors I decided not to use a couple because they didn’t go as well once I saw them all next to each other on the pallet.
- Use a turntable so you can easily smooth out the paint splotches as you go.
AMERICAN BUTTERCREAM:
A classic American buttercream works great for this technique. Check out my American buttercream recipe by clicking here! You can get a nice smooth finish on your base, which will serve as the background to your finished cake before adding your painted buttercream.
Keep in mind that with the cake being chilled before adding the painted buttercream, your painted buttercream could solidify quickly. Once you paint onto the cake, if you want a smooth look, you’ll have to work somewhat quickly before it sets.
Buttercream ingredients:
- Unsalted butter, room temperature
- Powdered sugar
- Vanilla extract
- Heavy cream
- Salt
DECORATING WITH PAINTED BUTTERCREAM:
The best part about this technique is that you really can’t mess up. Or, if you do mess up, you can easily cover it up as your painting on more spots!
You’ll first frost the cake as you normally would, and get a smooth finish. Make sure you chill the cake for at least 20 minutes after you frost on your base layer before applying the buttercream paint.

Start by creating a pallet of colors you plan to use. I used the back of a large baking sheet and mixed small amounts of each color (you don’t need much!). This way you have all the colors ready and easy to access, and you can see them all together before putting them on the cake.

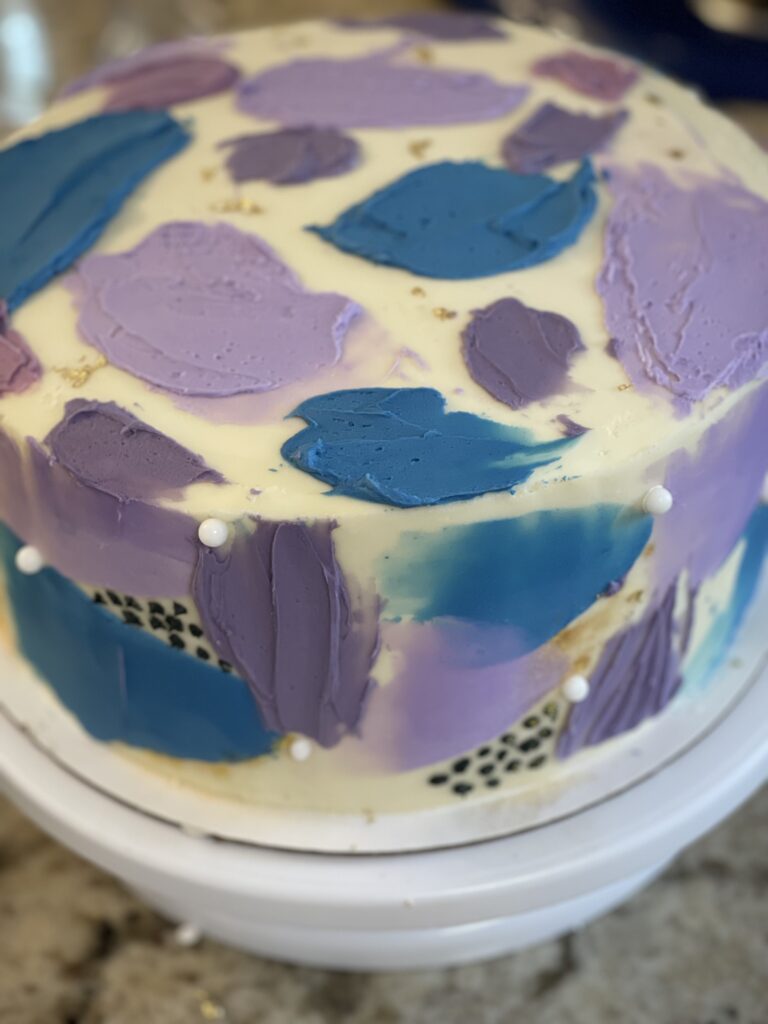
I did a variety of textures and painting techniques on this specific cake, but you don’t have to mix it up if you don’t want to. If you still want a smooth finish, you can absolutely achieve that and the paint will have this amazing water color looking effect – it’s very cool.
If you’re doing some (or all) smooth color, you’ll want to start with that and build the more textured stuff on top of it.
Choose colors from your pallet that you want to smooth on. With one color at a time add dollops in random spots with your offset spatula and then smoothed them out with your cake scraper.
From there, choose a couple other colors to paint on with your pallet knife and leave textured. I painted it on in an upward motion in small strokes to get the look I was going for.
Finish by using a rounded tool and do clusters of black buttercream dots in spots you want to fill. I also sprayed on some gold glitter, added a little gold leaf and some pearl sprinkles to give it a little extra something to finish it off.


